How To Organize Your Kitchen With Beautiful Labels

Organization can be stressful! The kitchen can be ground zero for disorganization for even the most “put together” individuals. With minimal time spent and ingenuity, your pantry can get an inexpensive makeover with the help of labels.
Clearing Out Clutter
Before you label all of your things, a purge must occur. Take everything, (yes everything) out of your pantry and cabinets.
Clearing out expired cans and forgotten bags of open chips is the first step to committing to a clutter-free kitchen.
Next, embrace the idea of "less is more". If you have an abundance of canned food items that you can do without, donating to your local food drive or food bank is always an option. Not only are you freeing your home of clutter, you are helping those in need.
All you have to do is wipe down your shelves and you’re ready to start the fun part...ORGANIZING.
Perfect Pairings: Containers and Labels
Choose containers for your dry ingredients and food products like cereals. You can opt for baskets to organize your cans and boxed goods.
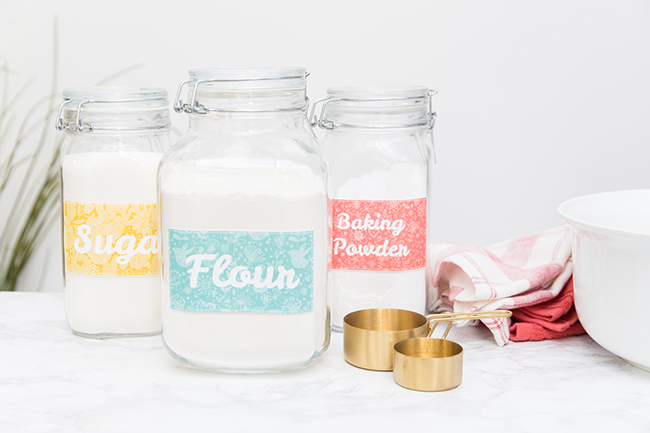
We prefer clear containers that show off the food and pretty labels are the best!
Once you have all of your food in their respective storage solutions, it’s time to add labels.
Applying Labels to Containers
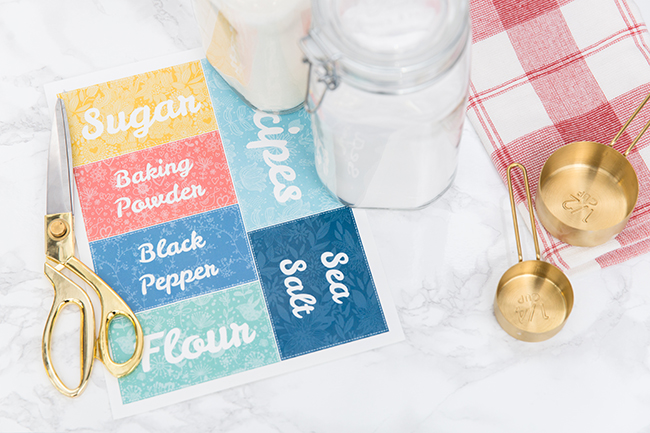
Step 1: Grab our Vintage Kitchen Labels template and choose the one that fits best with your home decor or create your own. They're customizable to whatever fits your kitchen needs.
Step 2: Print your desired design on our selection of Sticker Papers.
Step 3: Cut out each label and place them in a safe and clean space. Be sure to use your cutting machine, if you have one, to cleanly cut uniquely shaped labels.
Step 4: Ensure that the surface of your baskets, bins and containers are clean. Simple soap and water will do, but be sure to dry them before applying labels.
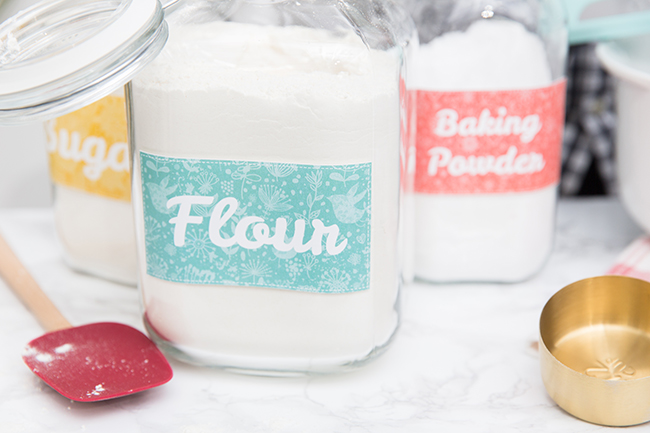
Step 5: Apply the label to the smoothest visible surface.
Step: 6: Violà! You’re one step closer to a clutter-free kitchen
Step 7: Repeat steps 1-6 to your hearts content.
Show Your Favorite Foods Some Love
Here’s your chance to let your creativity shine. Organize your goods alphabetically, by color, or categorize shelves by food groups. It’s totally up to you!
Focus on the foods you use the most and place them at eye-level. If you have young children, place heavy glass containers or items away from the edge to avoid any oopsies.
Enjoy Your Organized Kitchen
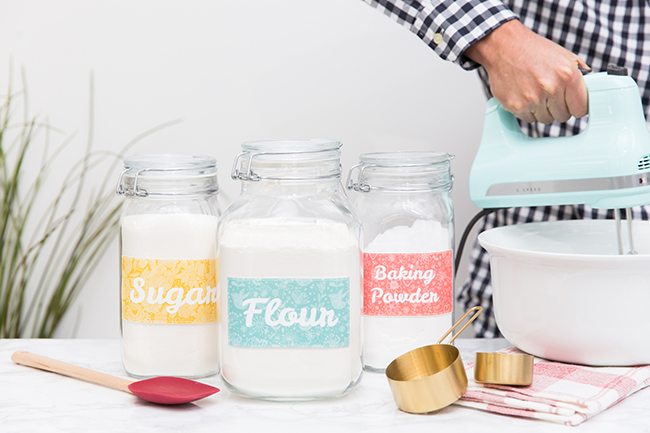
An organized pantry makes all the difference! Now, making your favorite meal or dessert will be a breeze.
Bonus! Keep a list of the items that you use the most to note when they are out of stock.
This helps keep your space organized just the way you like as you work in your kitchen. Don’t forget to download these Vintage Kitchen Labels templates and also check out our other pantry label options to start labeling.


